
As I was posting mostly black and white photos for this week's (July 4-14, 2019) newsletter from cuttinglinedesigns.com, I thought that it could be fun to post some outfits here that started with black and white.
Some of you may have attended one of my wardrobing classes, or you may know that I filmed a DVD for Threads Magazine called "How to Sew a Travel Wardrobe".
As I did research for the DVD, I came to rely on the principle of beginning a group of garments by using 2 neutral colors. Neutrals are great because they work well together, plus they work with other neutrals.
This idea, along with the others I discussed in the DVD, will apply just as well to any wardrobe you might be planning--casual, elegant, work, summer, winter . . . . .
Suppose you began your own planning with black and white and some patterns from our Cutting Line Designs website:

You could start with a white Anything But Ordinary shirt (using the jacket view from the pattern but in white shirting). Combine it with black pants from the My Swing Set pattern.
Add a cuff bracelet, a scarf, or some beads to doll it up a bit.
Or make the jacket view of Anything But Ordinary again, but leave the sleeves off and . . . ta-da, you have a vest. So easy.

Sticking with your neutrals, make a top in a print. This one is View A from the At Every Angle pattern.

So now it's time to branch out to another print--one that has many more colors in it. Make View A from Timeless and Modern. Still the same neutral pants.

Once you've chosen a colorful print, you can take colors from it to use as accents, like this:

Look closely. There's a blush-colored shell from Putting It Together under the shirt. You could choose several more colors for your wardrobe plan from this print.
Here's another example of the same idea, View A from The Blouse Perfected pattern:
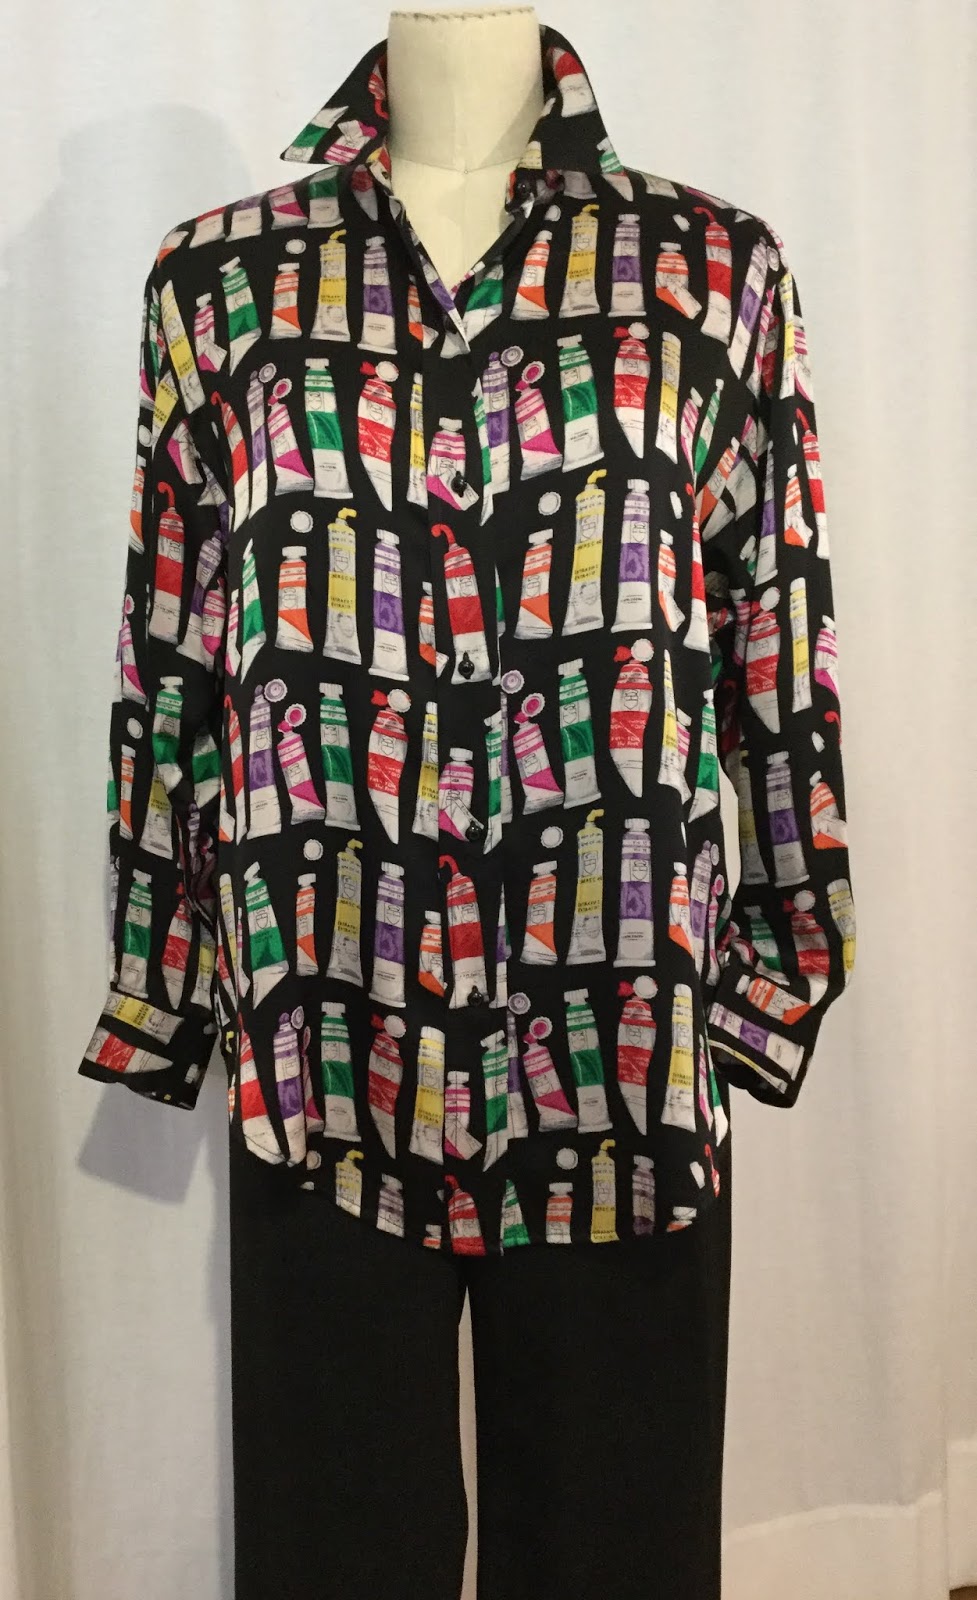
There are red paint tubes in this print, so it's logical to make red pants (One-Seam Pants, tapered).

The paint tubes contain white, so a white skirt from the Putting It Together pattern is in order. I added a belt, just for fun.

I made this shirt using all French seams, even where I inserted the sleeves into the armholes. French seams enclose all the raw edges, give an elegant finish, work fine on straight or slightly curved seams, and are not hard to do.
Let's look at the steps. First, place your garment pieces wrong side to wrong side. Serge them together like this:

Open out the garment pieces and press this first step of the seam to one side. Check your pressing on the back side.

Now put the right sides of the garment pieces together and press the serged seam so it's right at the edge.

Finally, with right sides together, stitch on the sewing machine 1/4" or so from the pressed, serged seam. Done!

The right side of the finished French seam is at the top. The seam as it will appear on the inside of the garment is angling across near the bottom of the photo. Neat, yes?
Be sure that you take up the usual 5/8" seam allowance as you sew the 2 steps. Then brag to your friends and enjoy the special beauty you achieved in your garment.
If you have a question or a suggestion for a topic, please let me know by emailing me at sandy@cuttinglinedesigns.com.