Hi everyone,
As I was playing around in my fabric shelves, I found a number of fabrics that go together nicely. All are summer fabrics. In this case, they are linen, but cottons could work for this summer wardrobe idea also. I'll show you my fabrics.
The idea began with the stripe. Then I found the green and the plum linens. Of course, white linen was an obvious coordinate, and a hunt turned up some left over from another project. Then I found the floral, which was left from a fashion show project. Finally, the last fabric, a fun cotton printed with a motif of paint samples.
From these fabrics I plan a shirt, a jacket, 2 pairs of pants, and 3 tops. I hope to finish before winter sets in!
I've made the first shirt, a variation of The Blouse Perfected.
FRONT AND BACK
Of course, I couldn't resist playing with the stripes. I decided to use the Left Front pattern piece for both the left and right fronts. (This works fine. No alterations to the left front--just cut it twice.) However, I cut one front on the lengthwise grain and the other on the crosswise grain. I wanted a casual look, and I thought that playing with the stripes achieved that. (Eliminates some stripe matching issues too!)
I cut the back with vertical stripes and the yoke with horizontal stripes. The only other change was on the sleeves. I shortened them to 3/4 sleeves and added a band at the hem.
Some photos might be helpful in understanding a few of the steps in constructing this shirt. In today's blog I'll show you how I made the front plackets, the yokes, and the burrito roll. Be sure you follow the instructions step by step--I'm not showing you every step here.
FRONT PLACKETS
Some of you may have read my earlier blog about the front plackets on this shirt. I'll just post a couple of photos here as a reminder of how they are done.
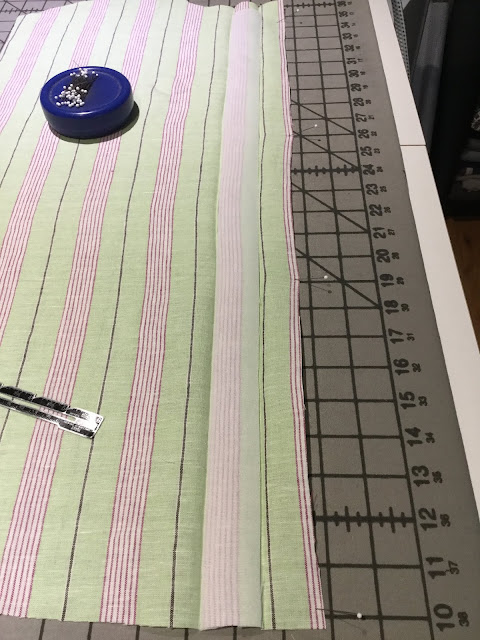
Fold the placket at the first set of clips (neck and hem). Use a seam gauge to be sure you fold the remaining placket accurately from neck to hem and stab pin, then press. Use the same process for the second fold.
Place the interfacing as indicated on the pattern, fuse, and press the folds back in place. Edgestitch as shown in the instructions. (I edgestitched both vertical edges of the plackets.) By the way, we have really light fusible interfacings on the website.
Here are the fronts with the finished front plackets.
OUTER AND INNER YOKES
I'll also show some photos of attaching the yokes. First I pinned the Outer Yoke right side to right side to the top edge of the Back. Note that the heads of my pins are away from the edge. (You have to pin both yokes but I think it's easiest to pin one at a time.) It's also nice to have really sharp pins with glass heads that won't melt if you get them near the iron.
This photo shows that I have turned the pinned Back and Outer Yoke over and laid the Inner Yoke on top, ready to be pinned. I'll match the raw edges and the clips at center back. Because of the way I pinned, I can just slide the pin at center back out and then reinsert it to secure the Inner Yoke to the other layers.
Once all was pinned, I stitched the seam. Next, I graded the seam allowances.
Both yokes get pressed up away from the Back. Then, working on the right side of the Back, I edgestitched the bottom edge of the Yokes.
BURRITO ROLL
Next, I followed the instructions to stitch the Fronts to the Outer Yoke right side to right side. Once that was done, I moved to the next step. I'll show it to you because it looks a little funny, but it works. I laid the shirt on my worktable right side up. I rolled the back into a fairly tight tube on top of the outer yoke. Then I rolled the fronts in the same way, till they were also on top of the outer yoke. As you can see, the inner yoke is free.
I then wrapped the inner yoke on top of the rolled back and fronts and pinned the shoulder layers together.
Next, I turned the bundle over so I could see my previous shoulder seam stitching. I stitched again right on top of my previous stitching. Note how I pinned so I could pull each pin out as I stitched. The next photo shows how you can still reach your pins.
Be sure you read the instructions here about grading the shoulder seams. (I'm not trying to show you every step.) Then comes the part that seems difficult. It's time to pull the Back and both Fronts out through one of the armhole ends of the Yokes. Here's how that looks in the middle of the process.
This takes a bit of patience but works like a charm. Just keep gently and gradually pulling the back and fronts out through the end of the yokes.
NEXT TIME
In my next blog I'll show you some tips about fusing interfacing, constructing the collar, pinning the sleeves, altering the pattern for the sleeve variation, marking buttonholes, and marking button placement.
Yikes, it's time for me to get moving on making the first pair of pants!


