
Good morning all,
Now that I've matched the motifs on my fabric and cut out my shirt accordingly, I'm ready to begin sewing. As you know, I'm making View B of At Every Angle, but you may find some helpful info in this post even if you are making some other shirt. As a reminder, here's the pattern:

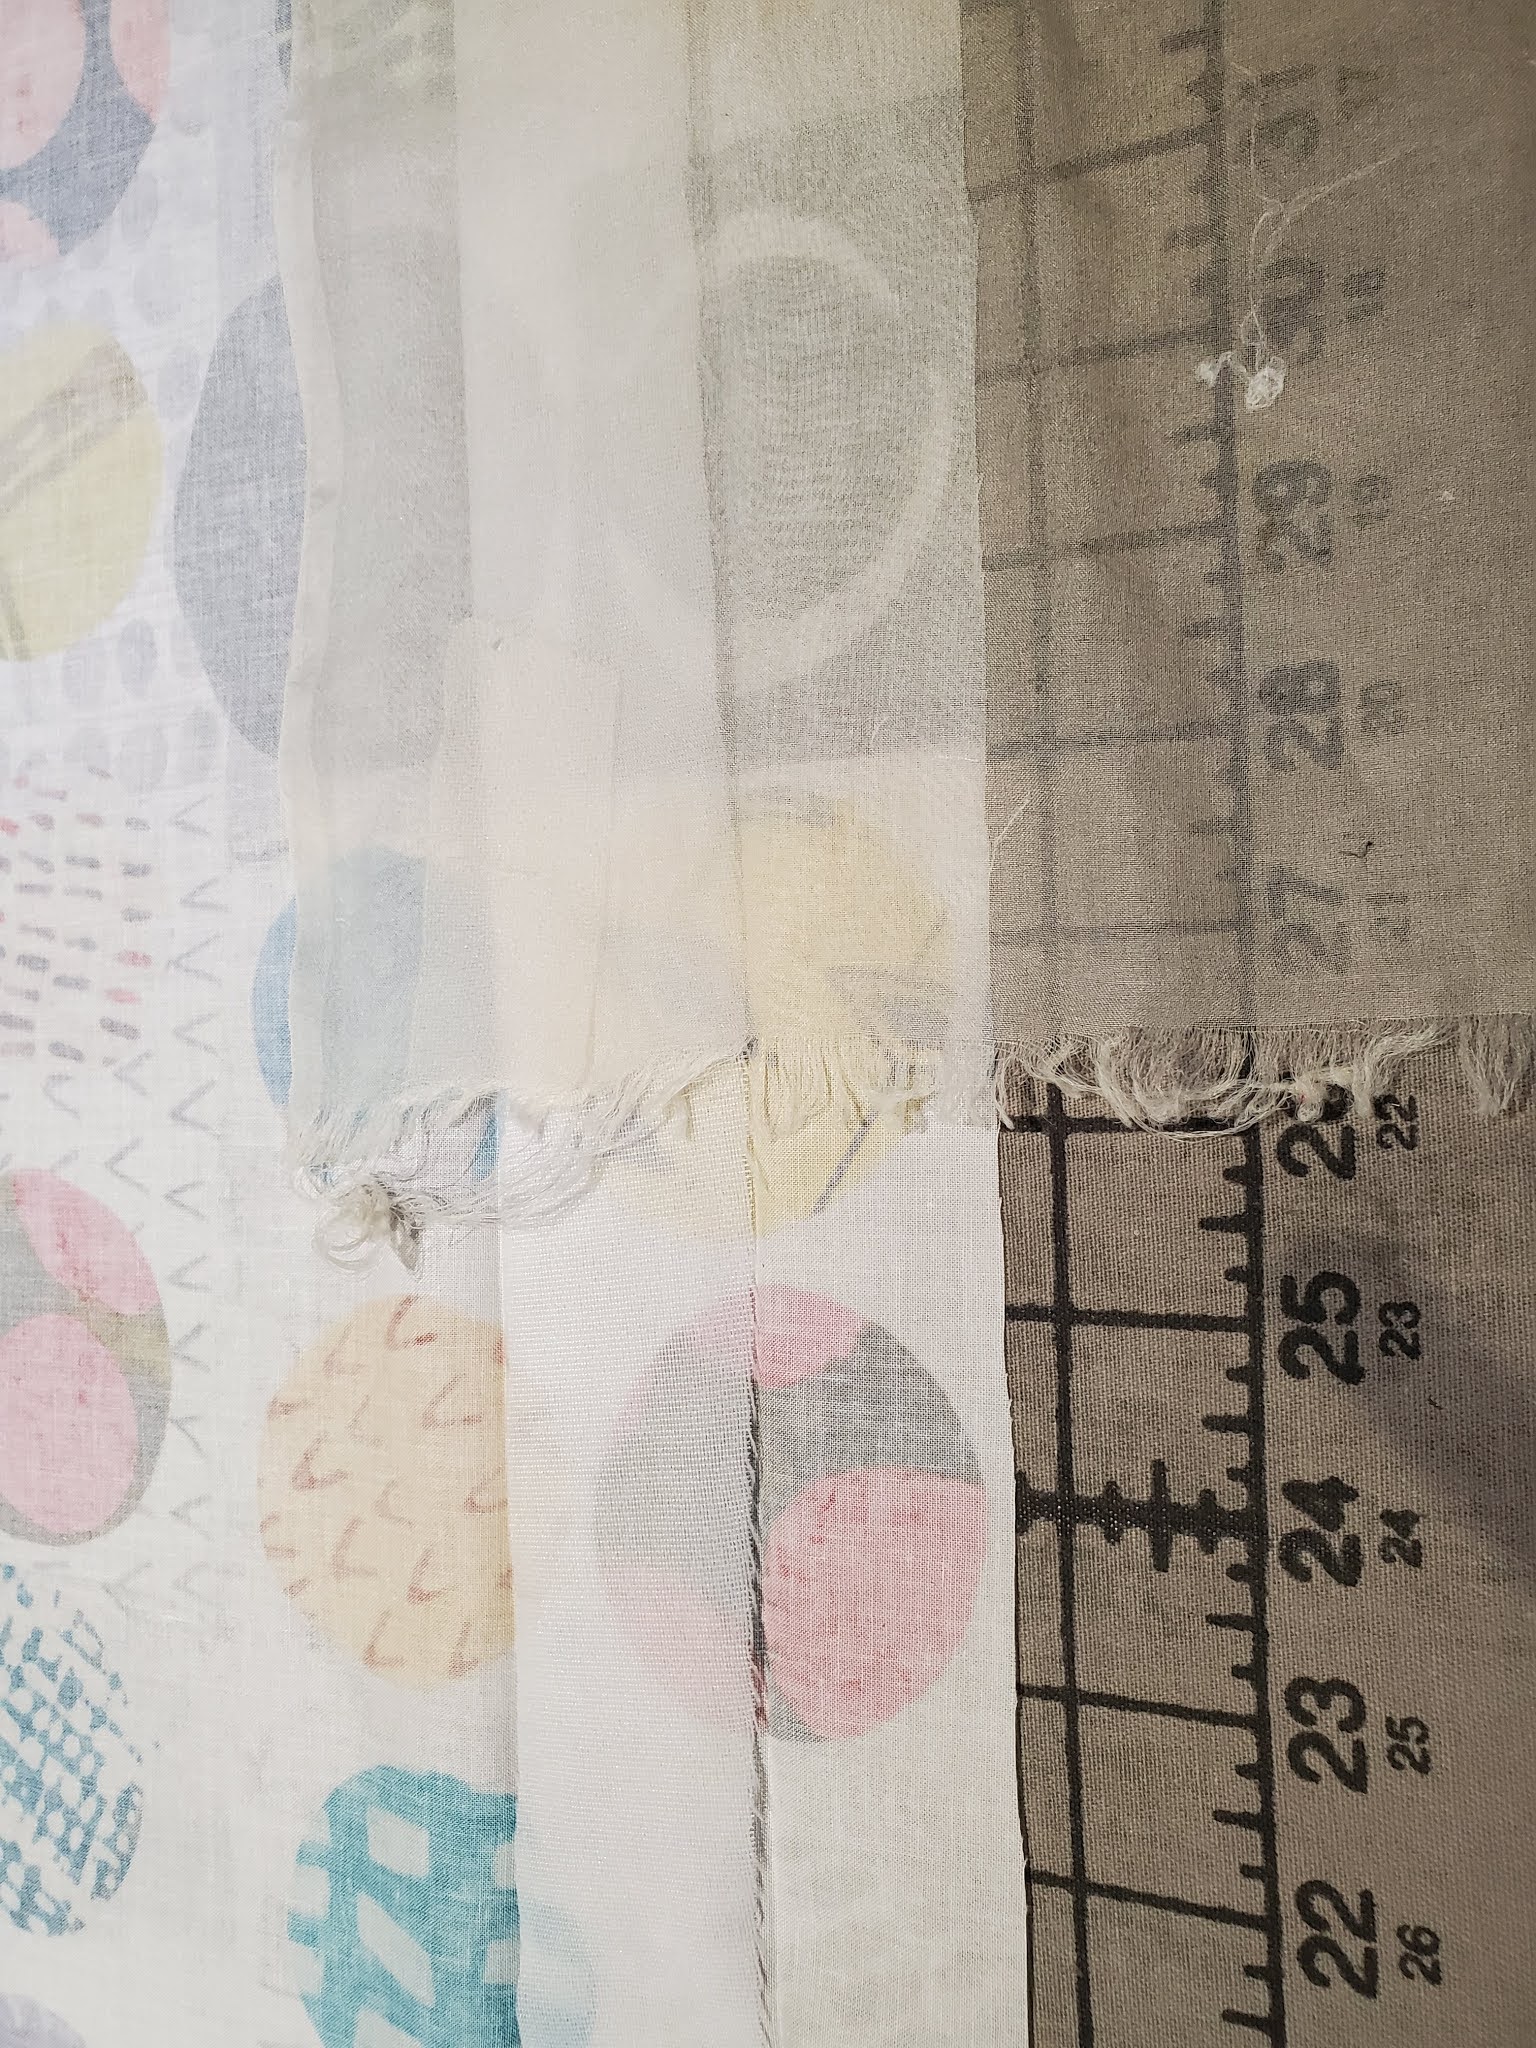
So today, I'll go over the preparation of the Left and Right Fronts. Remember, this shirt buttons left over right. Follow along with the instructions and look at my photos, which may help you understand how we do things.
The first steps in the instructions are folding the Fronts to make the plackets. Fold the neckline and the hem at the first clips and stabpin in place. Then use a seam gauge to measure the rest of the first fold at 1-1/2", stabpinning the rest of the fold. Press.

Fold again at the second set of clips at 1-3/4", again measuring with a seam gauge and stabpinning to verify that the entire placket is pressed accurately.

Open out the folds and place a strip of interfacing between the folds. Lay a silk organza press cloth over the interfacing and press. Don't slide your iron--you'll have a glued-up mess! (By the way, we have a good selection of light fusible interfacings at the website.)
Surprisingly, you'll still be able to see your original pressed folds, so once the interfacing is all pressed, refold those 2 first folds and press them again.
Now that all is accurate, slide strips of Steam-a-Seam under the loose edge of the folds. Press, perhaps using a little steam. You want to just adhere the Steam-a-Seam. Let it cool and gently remove the paper backing from the Steam-a-Seam. Lay the fabric back in place and press to fuse the placket in its final position.

Steam-a-Seam is one of my favorite tools. It helps to accurately place things so that stitching can be done without the fabric slipping or wrinkling.
Next, I used my blind hem foot to get set for edgestitching the placket where you placed the Steam-a-Seam. The left toe of the blind hem foot rides higher than the right toe, so the fabric folds go under the left toe. Move your needle to the left so it just catches the edge of the placket. Here's what my set-up looked like.

Some of you will have a plastic, adjustable blind hem foot. That works just fine.
So now the front plackets are done. I did both Fronts at the same time, following the instructions. In the next blog, I'll show you the Pocket.
But now, let's finish preparing the Fronts. I serged the side seam edges in accordance with the instructions. Then I staystitched the hem and side vent edges at 1/4". Luckily, I have a Piecing Foot that made it easy, but if you don't have one, you can put a piece of blue painter's tape on your machine to guide the edge of the fabric for accuracy. Some of you will have stitch plates with a 1/4" mark--I have metrics on mine, so the foot really helped.
Once you've stitched the appropriate edges at 1/4", press them to the wrong side. The side vents are straight, so you can use a Pressing Template to guide you. We have sets of these Templates in stock. They make this kind of pressing really easy. Here, I'm starting the fold.


The hem edge is a bit curved, so I stabpinned that edge and pressed.
Once the 1/4" folds are pressed, it's time to stitch the miters. Fold them right side to right side so the folded edges match and the dot is at the corner. Stitch at 1/4". I reduce my stitch length to 2.0 because I don't want a miter to come apart later. I also can stitch in the air for 1/2 or 3/4" off the corner. Not all machines will do that, so you can backstitch, use a fix stitch, or leave long thread tails and tie off.

Trim the corner of the miter as in the photo above and press it open over a point press.

I like our white plastic point turners to make perfect corners. I begin by putting my thumb (not the point turner) inside the miter. The point turner goes on top, right along the seam of the miter.

Holding my thumb and the point turner tightly together with the miter in between, I use my other hand to begin turning the fabric right side out.

My thumb is starting to emerge, and the point turner is now on the inside of the miter. I'm still holding the point turner and my thumb securely together. I'll continue to turn the fabric from wrong side out to right side out, and until my thumb is on top.

This method works great. Sticking the point turner into the miter can wad the seam allowances into the corner, causing a lump in the point. Worse, it can poke a hole in the corner of the miter!
Next, the side vent hem can be pressed to the inside of the garment at 1", using a Pressing Template. You'll see the miter at the top left corner of this next photo.

Finally, I stabpinned the slightly curved hems on the Fronts to the inside of the garment at 1" (again measured with a seam gauge) and pressed them. It's not time for Steam-a-Seam yet--the hems get finished later.
Here's a look at my matched Fronts with the hems pressed. Pretty cool!

Next time, we'll do the Pocket, the Backs, and the shoulder seams. Soon, we'll have a great-looking shirt.