Saturday, July 24, 2021

 Hi fellow sewers,

At last I am getting back to sewing my At Every Angle view B shirt.  I've been working on projects that had preliminary deadlines, and you'll see the results later.  But for now, I can continue my shirt!  I've reached the point of working on the collar.  One reason I chose to create blogs for this shirt, besides the fact that I love it, is because the collar is constructed in an unusual way.  I'll go through all the steps.  The early steps might be a review for some of you, but others may find some of the techniques to be new.

The first step is to interface the collar.  Of course I'm using one of our lightweight fusible interfacings, which I've preshrunk according to the instructions available on the website.  (Take a look at the Interfacings page. If you click on an interfacing to read about it, you'll also see, right below the Add to Cart button, that our instructions for using our interfacings are only a "click" away.)  

I've laid out my piece of parchment paper (the same stuff you bake cookies on) on my ironing board.  The fabric collar goes on, wrong side up.  The interfacing goes on, glue side down.


The collar pattern goes back on top to check the shape of the collar/interfacing "sandwich".  If the shape is distorted and the interfacing is then fused, the collar will never lie properly--so be sure to check.  Remove the pattern.


Then my silk organza press cloth goes on top to form what I call my interfacing "sandwich".  The parchment paper protects my ironing board, and the press cloth protects my iron.  


Beginning in the center of the collar, I lower the iron straight down onto the layers.  One shot of steam, count to 6 or 8, then pick the iron straight up, move to the next area, and repeat till the entire collar is fused.

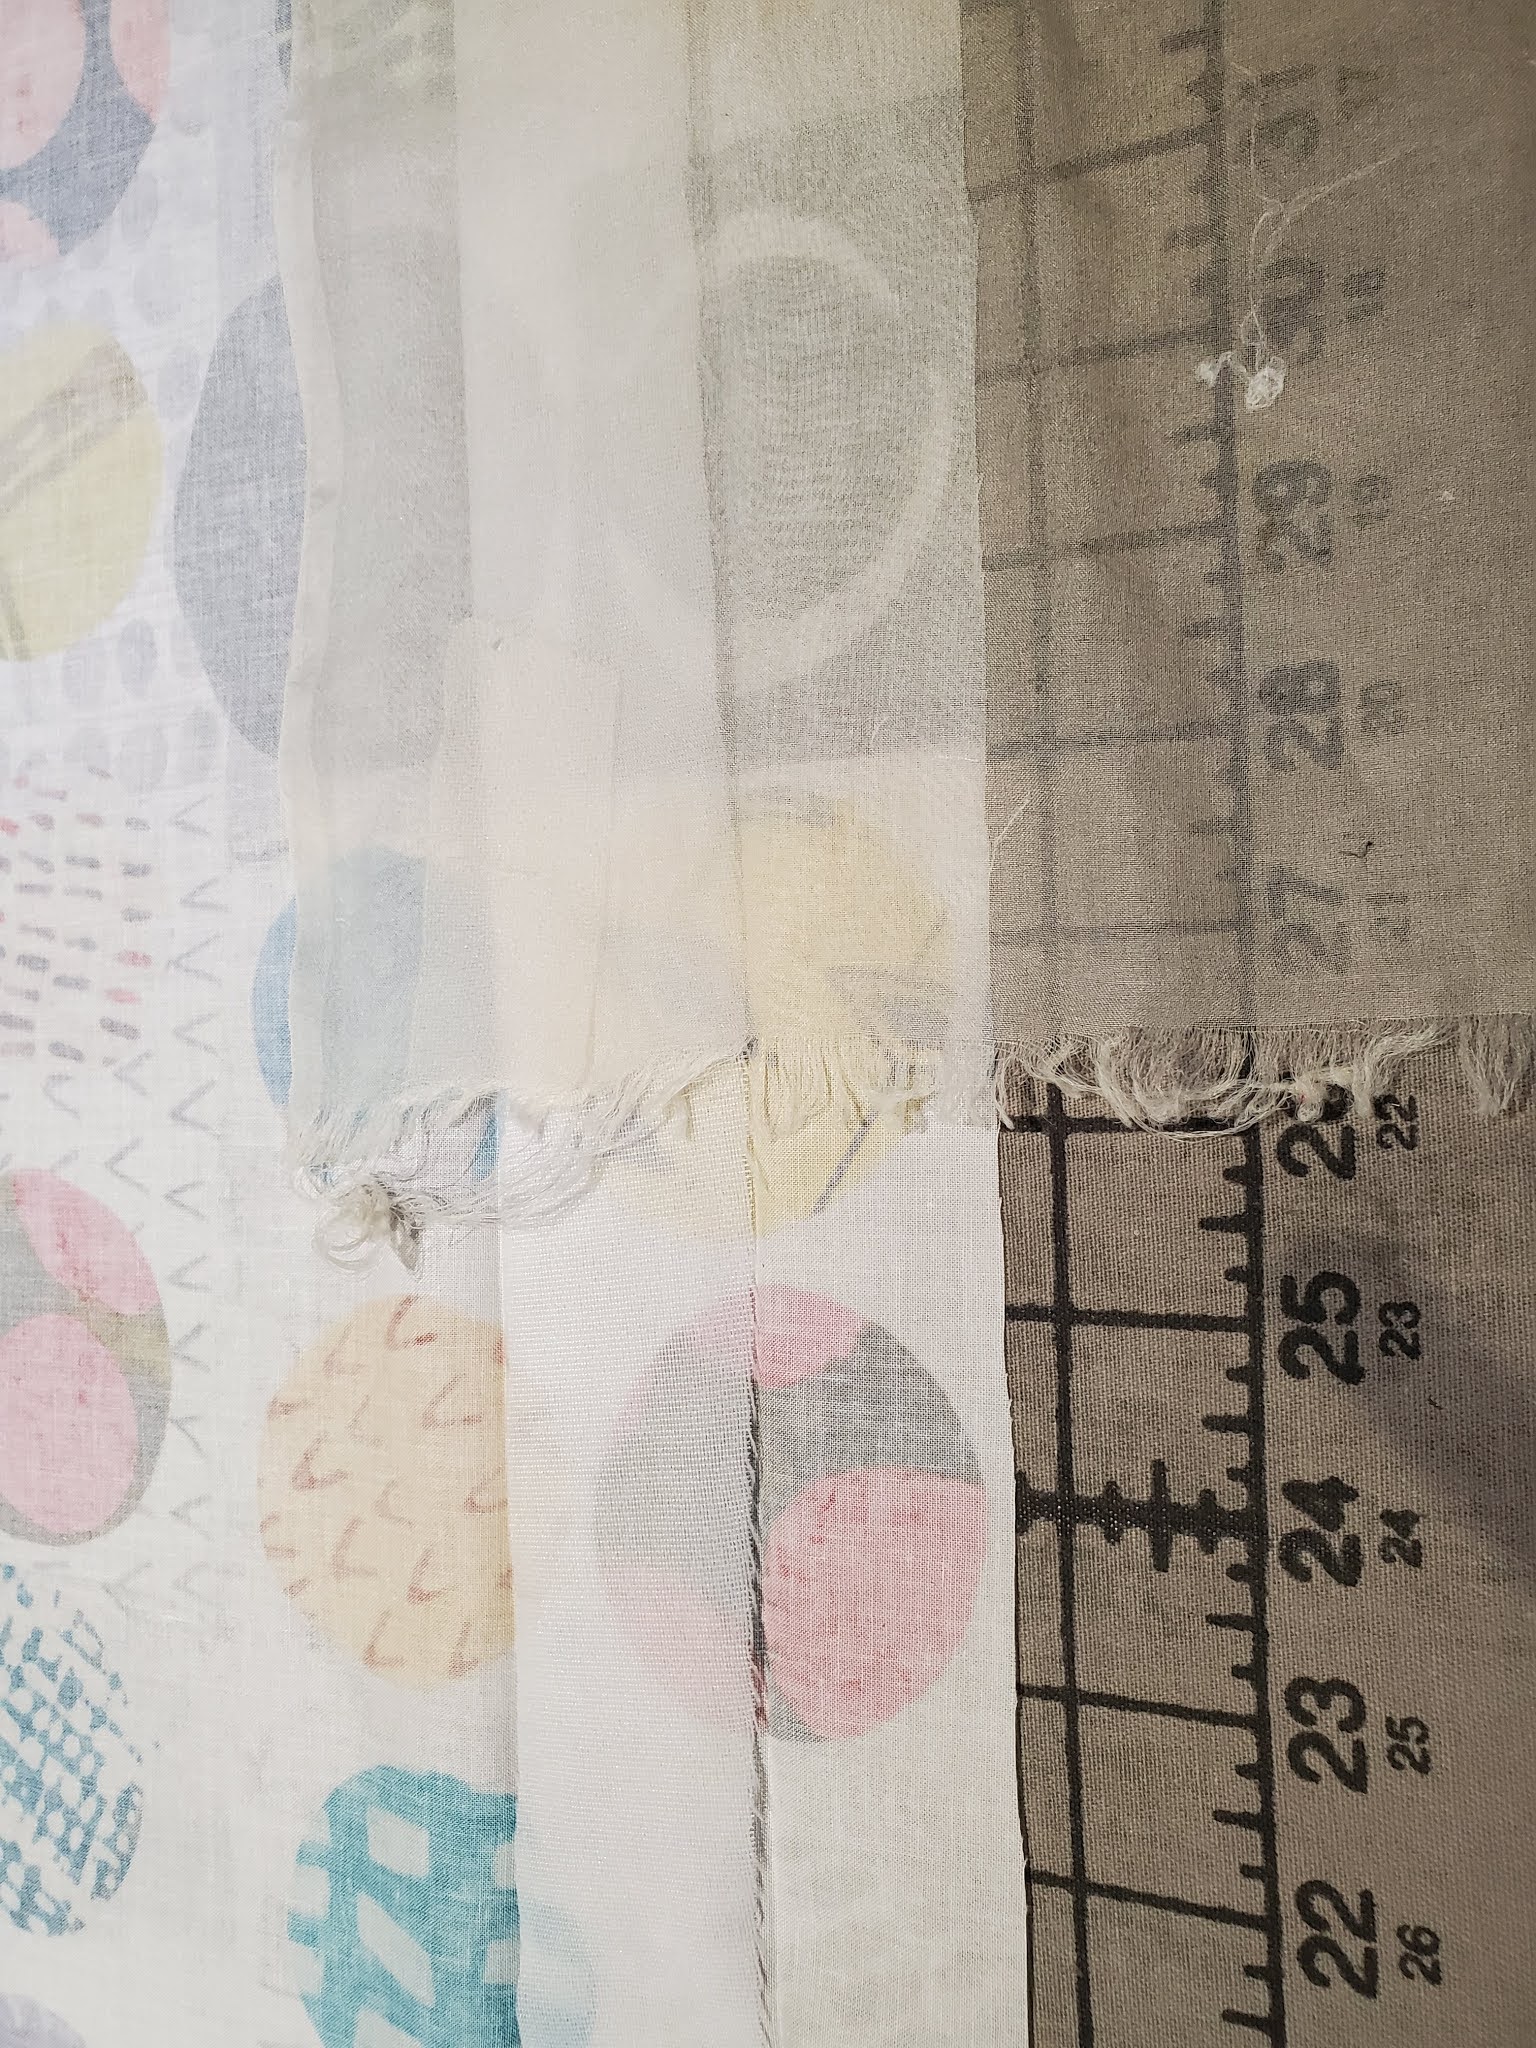
Next, pin the short ends of the collar together, stitch at 5/8", trim to 1/4", and press the seam allowances open.  (Use really sharp pins with glass heads that won't melt when you're pressing near them.) Now the unusual part of this collar begins.  First, let's look at how the collar edge compares to the garment neckline edge.  Unfortunately, I laid the collar down with the edge that attaches to the garment toward the top of the photo, but the point remains that you're trying to attach a straight edge to a circle.


So how can you make that easier?  Once again, the trick is in the pinning.  At this point, I'll explain that there's no neckline facing on this shirt.  The collar encases the neckline edge of the garment.  So pinning is crucial.  First, make sure you are pinning the edge of the collar with the shoulder match dots.  It's the shorter edge.  Also, you'll pin one layer at a time.  Begin by matching the short seam of the collar to the center back clip of the garment, right side of collar to wrong side of garment.  Place a pin, head sticking out from fabric edges and catching only a few threads at 5/8".  The garment edge will be up inside the collar.  Match a clip at the front fold of the collar to a front edge of the garment and pin.  Same for the other end of the collar.  Let's look:


Match a collar dot to a shoulder seam.  My turquoise dot is barely visible in the photo above.  Pin.  Repeat for the other shoulder.  Now you can pin the remaining seam allowances.  


It's looking weird, but it's halfway there.  Wrap one end of the collar around the garment front so it's snug.  Remove your pin at that end of the collar and pin again through all the layers.  Repeat at the other end, then repin the entire collar by placing each section of the second layer, removing your pin, then replacing it through all the layers.  Match all the same clips and dots.  

I'll say again, because it's so important, that the secret to success is to pin by catching only a few threads right at the stitching line.  The fabric edges--one curved and one straight--don't want to cooperate with each other.  Look at the edges in the photo above.  The only part of this seam that you want to control is at the 5/8" line.  Let the edges do what they want.  You take control where you need to stitch.

Once everything is accurately pinned together, you can stitch across the seam at 5/8".  I love this pinning technique; no matter which side is up when you stitch, it's easy to remove each pin when you come to it because the heads are out where you can see them.   Just to be clear, I'll say again that the garment is up inside the collar.  

This is already a long post, so I'll cover the second part of the collar construction in my next post.  I hope you're finding it helpful and that you are making an At Every Angle shirt along with me.


Monday, June 7, 2021

 Hello again, everyone,

In today's blog I will focus on the Pocket and on joining the Backs.  First, let's look at the Pocket.  

As you may remember, I laid the Pocket pattern on top of the stacked Right Front pattern piece on the Right Front fabric piece and drew the motifs on the Pocket pattern.  Then I matched the drawn circles to the appropriate circles on the fabric and cut the Pocket.  Here's a photo illustrating the result:


So now it's time to prepare the Pocket.  In accordance with the instructions, interface the top facing, serge the top edge, press it down into place, and topstitch across it next to the serging.  Staysitch down both sides of the Pocket and across the bottom at 3/8".  

Using a Pressing Template, press the bottom of the Pocket first.  This helps avoid any little "pokies" inadvertently peeking out from the bottom of the finished Pocket.  Then press the sides at 3/8".  Lay strips of Steam-a-Seam on the 3 edges of the Pocket, press gently, and remove the paper backing.  Here's a photo of the Pocket when it's fully prepared.


All the info I just mentioned is in the instructions.  I'd like to say a couple more things about our technique.  You'll see 1 dot on the Pocket pattern.  It should be placed on the matching dot on the Right Front.  (Most patterns show 2 dots, but if either dot is marked incorrectly, the Pocket can be crooked. Also, it's easy to get just a bit off-grain when marking those 2 dots.)  

Once you've matched that dot, you can measure from the side of the Pocket to center front from the top to the bottom of the Pocket to be sure it is placed correctly on the Front.  The Steam-a-Seam makes it easy:  it's slightly "sticky" so it will stay where you put it, but its position can be corrected. That's really useful if you're using a solid fabric or a different sort of print.  Of course, my Pocket is being matched to the motifs underneath.  So I placed it carefully to ensure the matching and pressed it in place.  Now it can be stitched perfectly.


Of course the instructions show a "map" of the Pocket stitching.  Again, I used the blind hem foot to stitch right on the Pocket edge.  I began where the previous line of topstitching intersects the side of the Pocket.  The top of the Pocket is toward me and I'm stitching to a point 3/8" in from the top corner (marked by a pin).


At the top edge, I pivoted to stitch across the top corner (anchoring the 3/8" seam allowance underneath--use a pin to tuck away any bits that may be sticking out before stitching).  Count your stitches to the corner.  Pivot again to stitch down the side and on around the Pocket to the other corner.


At the final corner, pivot to stitch across, again making sure the 3/8" folded edges are tucked away, and stitch the same number of stitches you used on the first corner.  Finally, stitch diagonally to mirror image what you did on the first corner.


Ta-da!  A perfect pocket.

Now we move to the Backs.  Prepare them in the same way as the Fronts.  Serge the side seam edges, staystitch the hem and vent at 1/4", press the 1/4" to the wrong side.  Stitch the miters and press the vent and hem at 1".  (If you missed this info, see my previous blog from June 4.)  Finally, cut a 4" piece of Steam-a-Seam and slide it under the Left Back hem, starting at center back.  Press, remove the paper backing, and fuse.

Now a really cool thing can happen.  Normally, the Backs would be pinned and stitched as usual.  But this time, I have cut my fabric to match the motifs down center back where the seam is.  So I used a different technique.

First, I pressed the 5/8" center back seam allowance on the Right Back to the wrong side.


  Then I placed Steam-a-Seam on the seam allowance next to the fold down to the dot marking Left Back hem.  


Once I've pressed lightly and removed the paper backing, I can lay the Right Back on top of the Left Back and match the motifs just as I did on the Pocket.


Once all the motifs were perfectly matched, I pressed to fuse the Backs.  Then I could turn back to the wrong side, Right Back on top of Left Back, prepared for stitching.  The pin marks the dot at the Left Front hem, where I secured my stitching.


Finally, I serged the seam allowances together, trimming only any loose threads.  At the bottom, I left a long serger chain.  I put it through a needle with a large eye and threaded it back through the serging to keep it secure.


When I was finished, I had perfectly matched Backs with a secure finish, and it was easy to accomplish.


I have decided not to edgestitch and topstitch according to the instructions.  I don't want rows of white stitching showing on my colored circles.  I'll show you a different option when I am ready to finish the hems.

If you're following along, I hope you're enjoying these blogs and finding them helpful.  


Friday, June 4, 2021

 Good morning all,

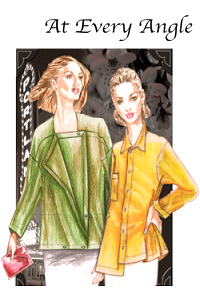
Now that I've matched the motifs on my fabric and cut out my shirt accordingly, I'm ready to begin sewing.  As you know, I'm making View B of At Every Angle, but you may find some helpful info in this post even if you are making some other shirt.  As a reminder, here's the pattern:


So today, I'll go over the preparation of the Left and Right Fronts.  Remember, this shirt buttons left over right.  Follow along with the instructions and look at my photos, which may help you understand how we do things.

The first steps in the instructions are folding the Fronts to make the plackets.  Fold the neckline and the hem at the first clips and stabpin in place.  Then use a seam gauge to measure the rest of the first fold at 1-1/2", stabpinning the rest of the fold.  Press.  


Fold again at the second set of clips at 1-3/4", again measuring with a seam gauge and stabpinning to verify that the entire placket is pressed accurately.

Open out the folds and place a strip of interfacing between the folds.  Lay a silk organza press cloth over the interfacing and press.  Don't slide your iron--you'll have a glued-up mess!  (By the way, we have a good selection of light fusible interfacings at the website.)

Surprisingly, you'll still be able to see your original pressed folds, so once the interfacing is all pressed, refold those 2 first folds and press them again.  

Now that all is accurate, slide strips of Steam-a-Seam under the loose edge of the folds.  Press, perhaps using a little steam.  You want to just adhere the Steam-a-Seam.  Let it cool and gently remove the paper backing from the Steam-a-Seam.  Lay the fabric back in place and press to fuse the placket in its final position.

Steam-a-Seam is one of my favorite tools.  It helps to accurately place things so that stitching can be done without the fabric slipping or wrinkling.  

Next, I used my blind hem foot to get set for edgestitching the placket where you placed the Steam-a-Seam.  The left toe of the blind hem foot rides higher than the right toe, so the fabric folds go under the left toe.  Move your needle to the left so it just catches the edge of the placket.  Here's what my set-up looked like.

Some of you will have a plastic, adjustable blind hem foot.  That works just fine.  

So now the front plackets are done.  I did both Fronts at the same time, following the instructions.  In the next blog, I'll show you the Pocket.

But now, let's finish preparing the Fronts.  I serged the side seam edges in accordance with the instructions.  Then I staystitched the hem and side vent edges at 1/4".  Luckily, I have a Piecing Foot that made it easy, but if you don't have one, you can put a piece of blue painter's tape on your machine to guide the edge of the fabric for accuracy.  Some of you will have stitch plates with a 1/4" mark--I have metrics on mine, so the foot really helped.  

Once you've stitched the appropriate edges at 1/4", press them to the wrong side.  The side vents are straight, so you can use a Pressing Template to guide you.  We have sets of these Templates in stock.  They make this kind of pressing really easy.  Here, I'm starting the fold.
I used the nose of the iron to push the fabric over the Template, and just ran the iron right along, completing the fold.

 The hem edge is a bit curved, so I stabpinned that edge and pressed.  

Once the 1/4" folds are pressed, it's time to stitch the miters.  Fold them right side to right side so the folded edges match and the dot is at the corner.  Stitch at 1/4".  I reduce my stitch length to 2.0 because I don't want a miter to come apart later.  I also can stitch in the air for 1/2 or 3/4" off the corner.  Not all machines will do that, so you can backstitch, use a fix stitch, or leave long thread tails and tie off.

Trim the corner of the miter as in the photo above and press it open over a point press.

I like our white plastic point turners to make perfect corners.  I begin by putting my thumb (not the point turner) inside the miter.  The point turner goes on top, right along the seam of the miter.

Holding my thumb and the point turner tightly together with the miter in between, I use my other hand to begin turning the fabric right side out.

My thumb is starting to emerge, and the point turner is now on the inside of the miter.  I'm still holding the point turner and my thumb securely together.  I'll continue to turn the fabric from wrong side out to right side out, and until my thumb is on top.

This method works great.  Sticking the point turner into the miter can wad the seam allowances into the corner, causing a lump in the point.  Worse, it can poke a hole in the corner of the miter!

Next, the side vent hem can be pressed to the inside of the garment at 1", using a Pressing Template.   You'll see the miter at the top left corner of this next photo.


Finally, I stabpinned the slightly curved hems on the Fronts to the inside of the garment at 1" (again measured with a seam gauge) and pressed them.  It's not time for Steam-a-Seam yet--the hems get finished later.

Here's a look at my matched Fronts with the hems pressed.  Pretty cool!

Next time, we'll do the Pocket, the Backs, and the shoulder seams.  Soon, we'll have a great-looking shirt.


Monday, May 31, 2021

 Hi fellow creative sewing ladies,

I thought we should do a sew-along.  I'm going to make a new shirt (View B) from our At Every Angle pattern, and I thought you might like to join me.  Here's the pattern--

This is such an interesting shirt.  The hems are asymmetrical,  it buttons left over right, and the collar is asymmetrical.  Also, it has roll-up cuffs and a pocket.  (See the last paragraph of this blog about sizing.)

Here's the fabric I've chosen (FF-01480).  It's a lively print with lots of color and should be fun to wear.  I've decided to match the print down the center front and center back, just to add that high-end, professional touch.  If you haven't tried that, read on.  I'll show you what I did. 


After placing the main pattern pieces on the fabric in a few different ways, I realized that I would need to cut them on the cross-grain.  In other words, the pattern pieces would be placed with their length going across the fabric rather than up and down the fabric.

It's not always possible to do such a layout, but in this case it's fine.  Because the weave is even and the fabric is tightly woven, the crosswise and lengthwise grains will act the same way on the body.  Just remember that you can't do this with all fabrics.

So I began by placing the Left Front where I wanted it.  Again, this shirt buttons left over right, so this was the important piece.  Also, when matching fabric motifs on a garment that will button, the match must be at center front. 

Here's how that piece looked when placed on the fabric.  I decided to have a row of the circles run down center front. Look carefully.  You can just see the buttonholes marked at center front on the pattern.  That's where the match must occur.  Also, you can see that I drew around the circles where the match must occur.  


Once that piece was pinned in place and couldn't move, I could match the Right Front to it.  I placed the Right Front on top of the Left Front, matching center front and the neckline, and I drew the same circles on the Right Front (I could see through the pattern to do this.  It's one reason I prefer tissue paper patterns.)  Then I located the same circles elsewhere on the fabric and pinned my Right Front in place.


I followed the same procedure with the Back pattern pieces.  First, the Left Back.  I should say that there is a center back seam, which is why I had to match the Backs.  Again, I drew the circles.

Repeating the process I used for the Fronts, I laid the Right Back on top of the Left Back, matching the stitching lines 5/8" in from the edges of the pattern pieces as well as the neckline.  Of course, I again drew the circles on the Right Back so I'd know where to place it on the fabric. 


Oh, and I repeated the process for the Pocket.  I laid it on the Right Front, which was pinned in place.  I matched the dot on the pocket to the correct dot on the pattern, then drew on the pocket the circles that showed through.  That allowed me to find those same circles elsewhere and pin the Pocket on those circles.


Ok.  So let's look at the total layout, and I'll explain a couple of things about it.

I had to put the fabric on the floor!  And I don't do this as easily as I did when I was in high school--but it was worth it.  So-the Left Front is at upper left in the photo.  The Left Back is next to it.  Right Front is the next piece, then the Left Back.  

On the bottom, you can see one Sleeve pinned on the lengthwise grain.  This is fine because, as I said earlier, this is an even weave and a tightly woven fabric.  The long Collar piece is next, then the Pocket on the proper circles.  The blank space above the Collar is where I'll cut the other Sleeve.  I should also say that because of the nature of this all-over, non-directional print, no one will realize that the Sleeves have been cut on different grains.

I hope this helps you understand matching fabric motifs.  I hope you will also join me in creating one of these shirts. I'll be showing you how I stitch mine in upcoming blogs. 

At the beginning, I said I'd mention sizing.  This shirt is intended to be somewhat oversized.  It's just part of the fun look of the shirt.  Please look carefully at the Finished Garment Measurements on the envelope.  Compare your body measurements to them.  Decide how much ease you want, then decide on which size to make.  Remember, if you go down a size from the one you usually use, the neck will be smaller too.  You might want to cut the neckline and Collar at your usual size.  


Monday, December 21, 2020

Hello everyone,

Well, wouldn't you know!  The other day, Louise and I were talking about which fabrics we should feature next, when she came up with another interesting idea.

Recently, we've been working with boiled wool, and we published our pdf called "Give a Little, Take a Little" about how to use special techniques to create garments with that wonderful fabric.  Louise said, "Let's use those techniques with denim and let the raw edges fray." 

 So I did a couple of little samples to see how it looked, and I liked it.   Below, I'll show you how I made these samples of overlapped seams with frayed edges.  If you'd like to make a complete garment finished with this great look, you might want to download "Give a Little, Take a Little" from the website.

I cut small pieces of denim and stitched 5/8" from the cut edge to give myself a guideline.  I applied a strip of Steam-a-Seam to the edge, leaving a bit of room next to the stitching.  I didn't want to glue the very edge of the piece I would apply on top, because that would prevent the overlapped edge from fraying.  And the fraying was exactly what I wanted. 

By the way, if working with boiled wool, don't use Steam-a-Seam.  We have double-sided sticky tape, which works better on the boiled wool.

I made 2 samples.  In the photo, the paper backing was still on the Steam-a-Seam so you could see it clearly.

Next, I removed the paper backing and lapped another piece of denim on top so that its cut edge just barely hid the stitched guideline (it's in gold thread above).  Of course, if I had been making a garment rather than a sample, I would have cut off 5/8" from this second edge to maintain the proper amount of fabric taken up in the seam.  Details are in "Give a Little, Take a Little". 
 

You can just see the gold thread of the stitched guideline peeking out of the bottom of this sample above.


Press with your iron to fuse the layers.  These seams are easy to handle now because the Steam-a-Seam is holding them. 

It's time to stitch.  I moved my needle to the left of center and used an edge-stitching foot to sew the first line of stitching.

I changed to my general purpose foot, lined up the edge of the fabric with the edge of the foot, and stitched a second line.  This photo shows the relationship of the Steam-a-Seam, the stitched guideline underneath, and the 2 lines of topstitching.


Fortunately, I needed to do a load of laundry, so the samples went in with everything else, taking a spin through the washing machine and the dryer.  When they emerged, I pressed them lightly and took photos.


This was my initial experiment and it showed me that the technique could be a success.  I could see this around the edges of pockets, as a seam finish, around the edges of a collar, and down the front of a garment on the joined facings/garment fronts.  

I think I'd like it even better if my first line of topstitching had been just a few threads further from the cut edge, letting just a bit more fraying take place.

Give this a try.  It's fun to play around.  Be sure to make samples first--mine only took a few minutes.  That way, you'll be sure to get just the look you want.

This is one of the gifts of sewing.  You get to create your own distinctive look while you relax and play with fabric.  Have fun!


Friday, November 6, 2020

Hi everybody,

I promised you part 2 of transitioning from a flat-fell seam to a side vent.  If you didn't see my last blog from Monday, you might want to go back and look at it, so you see the entire process.

I made a second sample using exactly the same configuration as the first--5/8" wide side vents, etc.  I serged both the front and back seam allowances as on sample 1. Once again, I clipped straight into the side seam allowances to the side seam stitching, making those clips 1/2" above the side vent dot. I trimmed the back seam allowance to 1/8".  I folded the front seam allowance onto itself at 1/4", then pressed it over the trimmed back seam allowance, fusing it with Steam-a-Seam.  I also fused the tops of the side vent allowances after folding the top edges at 45 degrees.  All this is shown in the previous blog, along with photos of stitching the miters at the vent/hem corner and the topstitching I wasn't especially happy with.

I simplified the stitching on this second sample, and I like it much better.  After following the steps used on the first sample, I decided to edgestitch only on the side of the seam where I had folded over the front seam allowance.  I did not stitch right at the original stitching of the seam, as I did on sample 1.  Here's the result.

The photo above shows the edgestitching along the folded and fused front seam allowance, which has been folded over onto the back.  I've also stitched the side vent in place, although it's hard to see that stitching.

What I haven't shown you before is that I left long thread tails on my edgestitching along the seam.  I tied a knot at the end of the edgestitching, then used a handstitching needle to hide the thread tails in the side vent. I left the ends so you could see what I did, but they will get cut off to finish.  

Here's the right side of the sample.

So much simple, clearer, and less fussy than my first sample.  I like it much better.

Many of our patterns use a 1-1/4" wide side vent.  I thought I'd try that.  To begin, I serged down the seam allowances, across the diagonal top of the side vent, and down its vertical edges.  

Once I did the first steps, I realized that even though I had serged diagonal edges at the top of the side vents, I still had 5/8" raw edges where I had clipped into the seam allowances.  

So once I had the front seam allowances folded and fused to the back, I realized I would need to fold the diagonal tops of the side vent.

You can see the raw edge resulting from clipping into the seam allowances.  You're looking at the back side vent folded over to the front, so you can see what I'm doing.  Also, you can see the dot where the seam edgestitching needs to end so it meets the diagonal stitching I'll do on the diagonal vent edge.


This is so much explanation.  It's difficult to convey the tiny details in words, but the photos really show the process, so I hope they are clear to you.  

Here's a view of the lines I drew to indicate where I should fold.  One edge is already folded.


 Both diagonal edges folded.


Edgestitching is done along the flat-fell seam.  Once the diagonal edges were fused, I could stick a pin through to mark where that seam edgestitching should end.  I left long thread tails.  If you're worried about that little bit of raw edge at the bottom of the seam, you can secure it with a drop of Fray-Check.

Here it is from the right side.

As I said, my explanation sounds much more complicated than the process actually is.  Look at the photos and make a couple of samples.  You'll quickly see how to make a smooth, neat transition from a flat fell seam to a side vent.

Be sure to go back to my previous blog to get a head start!