
Those of you who know Cutting Line Designs realize that we draft all of our miters for you, so sewing side vents/hems is easy. However, you may want to make place mats, napkins, or garments that don't have that convenience.
I thought you might like to see how to fold a regular miter, so you can create these corners yourself. In this post, I'll show you in paper, then I'll come back next time and show you the same folding plus other sewing and pressing techniques for perfect results every time.
FOLDING MITERS
MARK YOUR MITER
If you're not familiar with this folding technique, follow along and make a sample for yourself. Put it with your stash of cool sewing stuff, so you can just pull it out and remind yourself when you next need to make a pretty corner.
On a piece of paper with a perfect 90 degree corner (like just a sheet of copy paper), draw 2 lines representing a hem and a side vent. Make each line the same distance from the edge of the paper, and have them cross at a corner.
Mark a dot where the lines cross at the corner.
Turn the paper over and mark the same lines on top of themselves so you have the same reference points.

FIRST FOLD
On the lines, fold both edges of the paper in as though you were folding a hem and a side vent.

You can see the line and the dot at the corner.
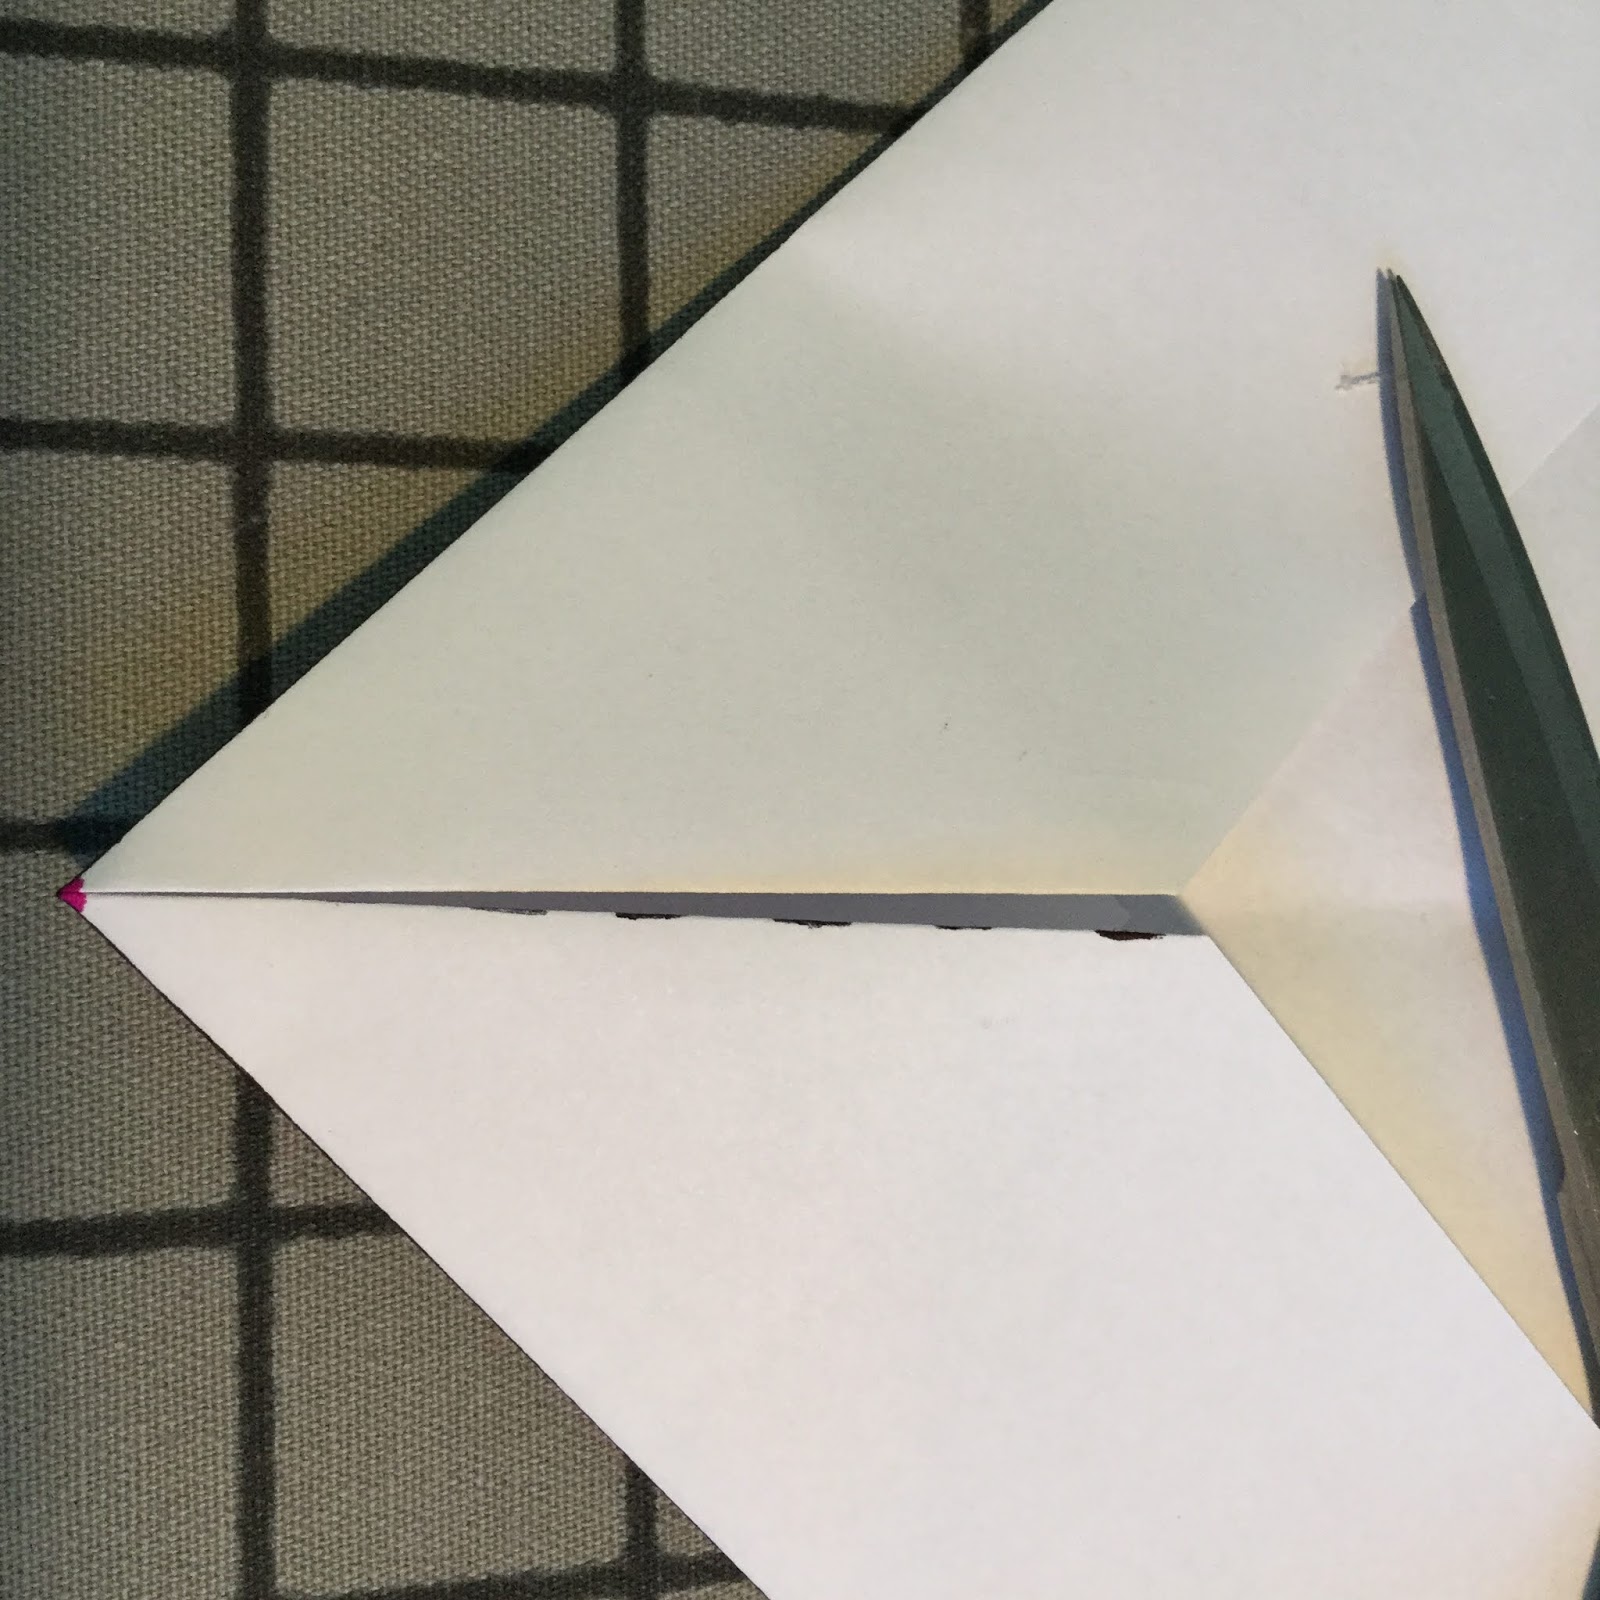
SECOND FOLD
Fold the corner in diagonally so that the lines you drew and folded meet themselves.

THIRD FOLD
Open out the corner. Fold so that the long edges are together and the corner is sticking out. In fabric, you'd be folding right sides together. You'll see a foldline extending from the dot you made at the corner to the edges that now meet. You can mark the line like I did to look like stitches on that new fold.

Open all the folds and lay the paper flat on the table. Now you can see what you've created. Your marked stitching line is on the diagonal, your faux hem and side vent edges are there, and you can see all the folding you've done.

FINAL FOLD
Turn the paper over so you can't see your marked stitching line (it will reappear in a minute). Fold the whole diagonal corner onto the body of the paper. Finally, fold the faux hem and side vent edges onto what would be the body of the garment, and TA-DA, you see a perfect regular miter.
This exercise is the simplest version of a regular miter. If you were doing this in fabric, you'd be working with serged edges. However, if you wanted a clean-finished hem, you could first press a 1/4" or 3/8" fold on the long edges, then proceed with exactly the same steps, leaving those narrow pressed edges intact all the way through the process.