Showing posts with label At Every Angle. Show all posts

Thursday, September 23, 2021

 We're almost there, everyone,


When I ended the previous blog, I had just sewn the sleeve seam, leaving 2" open at each end of the seam, like this:


Now let's move on.  It's time to stitch the underarm sleeve seam from the raw hem edge (unfold the hems you've pressed earlier) to the dots at the underarm.  Be sure to match those dots accurately.  

Then stitch the side seam from the matched dots at the underarm to the matched dots at the top of the side vent.

(Let me interject something here.  In all our instructions, we suggest that you keep the paper pattern pieces with the fabric pieces you have cut.  Then the first step for each Front, Pocket, Sleeve etc. is to mark clips and dots.  You probably did that when you originally cut the pieces, but we remind you.  As you move on to each new garment section, you can quickly check that you have all the markings completed.  If not, you can do it before you sew that section.  It's much easier to mark while everything is flat, and you have the pattern right there, rather than folded away in the envelope.)

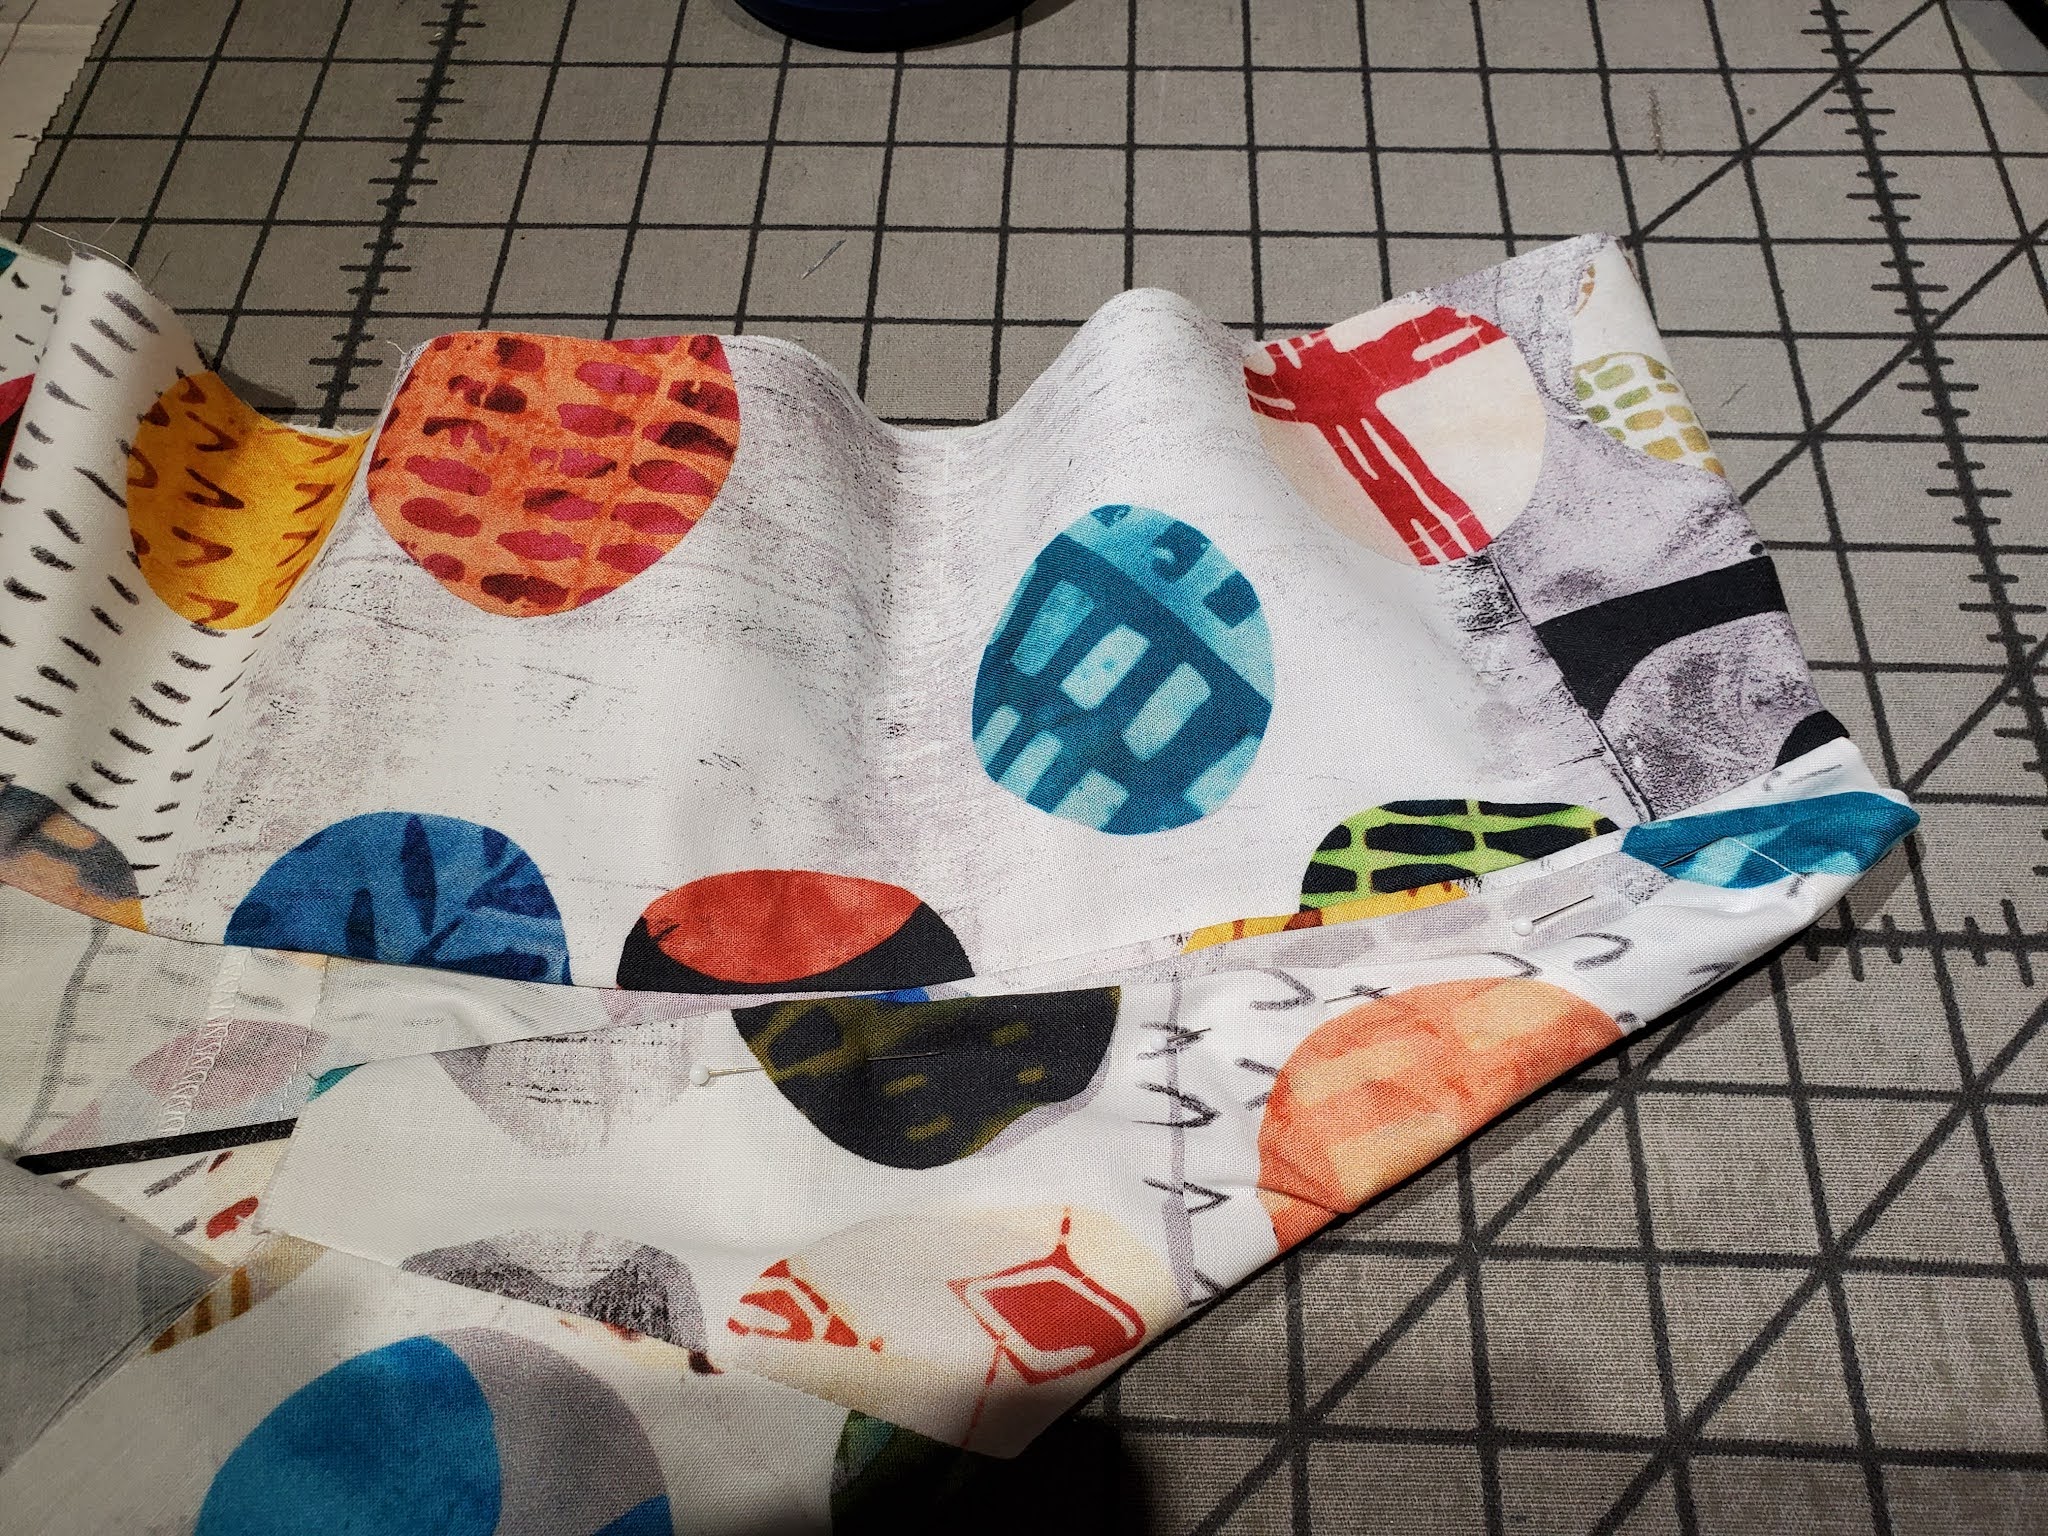
Ok, here's how the shirt looks once you've completed those seams.  The pressed underarm sleeve seam is to the right, the pressed side seam is to the left, and the hole in the middle results from leaving 2" open at each end of the sleeve seam.


Turn the sleeve right side out so it's inside the garment, which remains wrong side out.  Match the side and underarm seams at the dots, like this:


It's important to get the dots (where your stitching stopped) matched precisely.

Now fold back all the seam allowances so they are together and moved to one side of the seams.  I put a pin through one dot, then look to see that it's through the dot on the other side.  Sometimes it takes a couple of tries to get it right.


Once your dots are perfectly matched, pin to hold everything in place and stitch from where your previous sleeve seam ended to the dot, securing your stitching at the dot.  


Repeat folding the seam allowances back and stitching the open portion of the sleeve seam on the other side.


Now you're ready to serge the sleeve seams.  Note that the underarm and side seam allowances are still free.  That's the whole idea--they allow the garment to drape properly when worn.  They don't pull or pucker.


Fold down the seam allowances on one side, and begin your serging on the other side:


Begin serging on the seam allowances that remain upright, trimming them to 3/8".  Serge all the way around the sleeve.  When you approach the end, fold down the seam allowance where you started.  Your result will look like this--


This technique is used in several of our patterns, and now you know the details of how to complete this unique finish.

Next time, I'll review a few items for finishing your new shirt.


Monday, September 20, 2021

Hello fellow sewers,

It's time for the next step in constructing the Shirt (view B) from At Every Angle.  In the last blog, we ended with beginning to pin the collar to the shirt's neckline, so let's see how that looked.


As a quick review, this collar is somewhat unusual.  As you can see in the photo, the collar is slipped down over the neckline of the shirt (in other words, the neckline is inside the collar), right side to right side, center backs matched.  At the center front edges, the collar would fold around the fronts and back on itself with the neckline sandwiched between the 2 collar layers.  Once both layers are pinned, it's time to stitch.

Look closely at the stitching below.  I sank my needle with the fabric turned in the opposite direction and stitched to the end of the collar.  Then I turned the collar around as you see below.  I like this technique because it avoids the dimple in the fabric's edge that backstitching often causes.  Now I'm ready to stitch across the combined collar/neckline.  I'll mirror image this technique at the other end.


Same view as above.  


Once the collar/neckline seam is stitched, it must be graded and clipped.  I've mentioned in other blogs that we now clip on the diagonal.  I clipped one layer, then turned the collar/neckline over and clipped in the opposite direction, and so the clips don't overlap.  Thus no ridges or gaps press through to the right side.


Below, I'm pressing the collar up and away from the neckline of the garment.  You can see that the top edge of the collar is open.  See the raw edges?


You might be wondering, "How on earth do I close the top of that collar now?"  It can be done!  Of course, all of this is explained and illustrated in the instructions, but it's helpful to see it done.

You'll roll the front edges of the shirt and pin them out of the way, like this:


Note that I've pinned the rolled front.  It can be rolled again on top of itself.  Once you've rolled each front, you can pull the collar down over the garment, wrong side out, and pin the edges together.  Begin stitching the collar at each center front end and stitch toward the center of the collar as far as you reasonably can.  Grade the seam allowances where you've stitched and press them open over a point press.  This photo is showing you one end of the collar. 


Once you've stitched and pressed both ends, you can turn them right side out, using a point turner to walk out the corners.  The middle of the collar will still be open.  Turn the seam allowances down inside the collar, pressing them carefully so they are even.


Once the pressed seam allowances are perfect, trim them to 3/8".  Slide a strip of Steam-a-Seam between them, remove the paper backing, and press to fuse this last part of the collar together.  Finally, you'll edgestitch the collar.  Work on the side of the collar that will show when worn and begin stitching at center back where the collar joins the neckline.  Edgestitch all the way around.  You did it!


Next, we'll construct the sleeves.  We have different way of finishing the underarms, so I'll show you that in the next blog.


Monday, May 31, 2021

 Hi fellow creative sewing ladies,

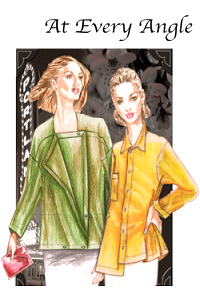
I thought we should do a sew-along.  I'm going to make a new shirt (View B) from our At Every Angle pattern, and I thought you might like to join me.  Here's the pattern--

This is such an interesting shirt.  The hems are asymmetrical,  it buttons left over right, and the collar is asymmetrical.  Also, it has roll-up cuffs and a pocket.  (See the last paragraph of this blog about sizing.)

Here's the fabric I've chosen (FF-01480).  It's a lively print with lots of color and should be fun to wear.  I've decided to match the print down the center front and center back, just to add that high-end, professional touch.  If you haven't tried that, read on.  I'll show you what I did. 


After placing the main pattern pieces on the fabric in a few different ways, I realized that I would need to cut them on the cross-grain.  In other words, the pattern pieces would be placed with their length going across the fabric rather than up and down the fabric.

It's not always possible to do such a layout, but in this case it's fine.  Because the weave is even and the fabric is tightly woven, the crosswise and lengthwise grains will act the same way on the body.  Just remember that you can't do this with all fabrics.

So I began by placing the Left Front where I wanted it.  Again, this shirt buttons left over right, so this was the important piece.  Also, when matching fabric motifs on a garment that will button, the match must be at center front. 

Here's how that piece looked when placed on the fabric.  I decided to have a row of the circles run down center front. Look carefully.  You can just see the buttonholes marked at center front on the pattern.  That's where the match must occur.  Also, you can see that I drew around the circles where the match must occur.  


Once that piece was pinned in place and couldn't move, I could match the Right Front to it.  I placed the Right Front on top of the Left Front, matching center front and the neckline, and I drew the same circles on the Right Front (I could see through the pattern to do this.  It's one reason I prefer tissue paper patterns.)  Then I located the same circles elsewhere on the fabric and pinned my Right Front in place.


I followed the same procedure with the Back pattern pieces.  First, the Left Back.  I should say that there is a center back seam, which is why I had to match the Backs.  Again, I drew the circles.

Repeating the process I used for the Fronts, I laid the Right Back on top of the Left Back, matching the stitching lines 5/8" in from the edges of the pattern pieces as well as the neckline.  Of course, I again drew the circles on the Right Back so I'd know where to place it on the fabric. 


Oh, and I repeated the process for the Pocket.  I laid it on the Right Front, which was pinned in place.  I matched the dot on the pocket to the correct dot on the pattern, then drew on the pocket the circles that showed through.  That allowed me to find those same circles elsewhere and pin the Pocket on those circles.


Ok.  So let's look at the total layout, and I'll explain a couple of things about it.

I had to put the fabric on the floor!  And I don't do this as easily as I did when I was in high school--but it was worth it.  So-the Left Front is at upper left in the photo.  The Left Back is next to it.  Right Front is the next piece, then the Left Back.  

On the bottom, you can see one Sleeve pinned on the lengthwise grain.  This is fine because, as I said earlier, this is an even weave and a tightly woven fabric.  The long Collar piece is next, then the Pocket on the proper circles.  The blank space above the Collar is where I'll cut the other Sleeve.  I should also say that because of the nature of this all-over, non-directional print, no one will realize that the Sleeves have been cut on different grains.

I hope this helps you understand matching fabric motifs.  I hope you will also join me in creating one of these shirts. I'll be showing you how I stitch mine in upcoming blogs. 

At the beginning, I said I'd mention sizing.  This shirt is intended to be somewhat oversized.  It's just part of the fun look of the shirt.  Please look carefully at the Finished Garment Measurements on the envelope.  Compare your body measurements to them.  Decide how much ease you want, then decide on which size to make.  Remember, if you go down a size from the one you usually use, the neck will be smaller too.  You might want to cut the neckline and Collar at your usual size.