
Hello everyone,
There's been some discussion about pinning the sleeves into the body of The Blouse Perfected on the Facebook Forum. I'll point out a couple of things that are special about The Blouse Perfected, but the technique in general will work for all our Cutting Line Designs garments.
First, let's look at a photo that will illustrate why sewing sleeves into garments can sometimes be a challenge. In the photo, I've placed some white paper between the sleeve and the body just so you can see each one clearly.
OPPOSING CURVES

You can see that the armhole curve of the body (bottom layer) extends away from you. Imagine the stitching line 5/8" in from the cut armhole edge. You can tell that the cut edge will be shorter than the stitching line.
In contrast, the shape of the sleeve cap is an opposite curve. The cut edge of the sleeve (top layer in the photo) is longer than the stitching line. On Cutting Line Designs patterns, the body and the sleeve are equal or nearly equal at the stitching line.
The key to controlling these 2 opposing curved edges is to insert your pins so that they pick up only a few threads right at the stitching line where the 2 layers are equal. This way, the cut edges can do whatever they need to do, without causing a problem right where you are going to stitch.
MATCHING SLEEVE TO BODY
The Blouse Perfected has dots at the underarm corners on both the body and the sleeve. These dots must match to get started correctly, so pin those first. Then insert a pin at the clip at the center of the sleeve cap. Let's look at a corner.

Notice that the sleeve and body layers cross right at the 5/8" stitching line when the dots are matched.
PINNING SLEEVE TO BODY
Once you've pinned the corners and the center clip, you need to pin the rest. In the photos below, I'll show you 2 ways to do that.
First, I'll show you the technique that we illustrate in the patterns. Hold the 2 layers together with the sleeve on top. This forces the sleeve layer to travel just a bit further as you wrap the layers over your index finger. You can use your thumb to push a bit of extra sleeve fabric to be eased in before you insert your pin right at the stitching line.

I often use a second technique. It involves once again having the sleeve layer on top. In this case, I wrap the layers over my thumbs. I can use my fingers to slide a bit of extra ease before pinning, again right at the stitching line.

You can use either technique, depending on which one is more comfortable for you. In reality, sometimes you have to go back and pin part of the seam over again to get the ease in just the right place.
BUTTONHOLES AND BUTTONS
I also wanted to give you a couple of tips about buttonholes and buttons. I used to use a seam gauge, but I kept having to measure over and over as I looked at various spacings. Now I have a Simflex, and I can get my spacing right the first time. Boom--done! Here's how that looks.
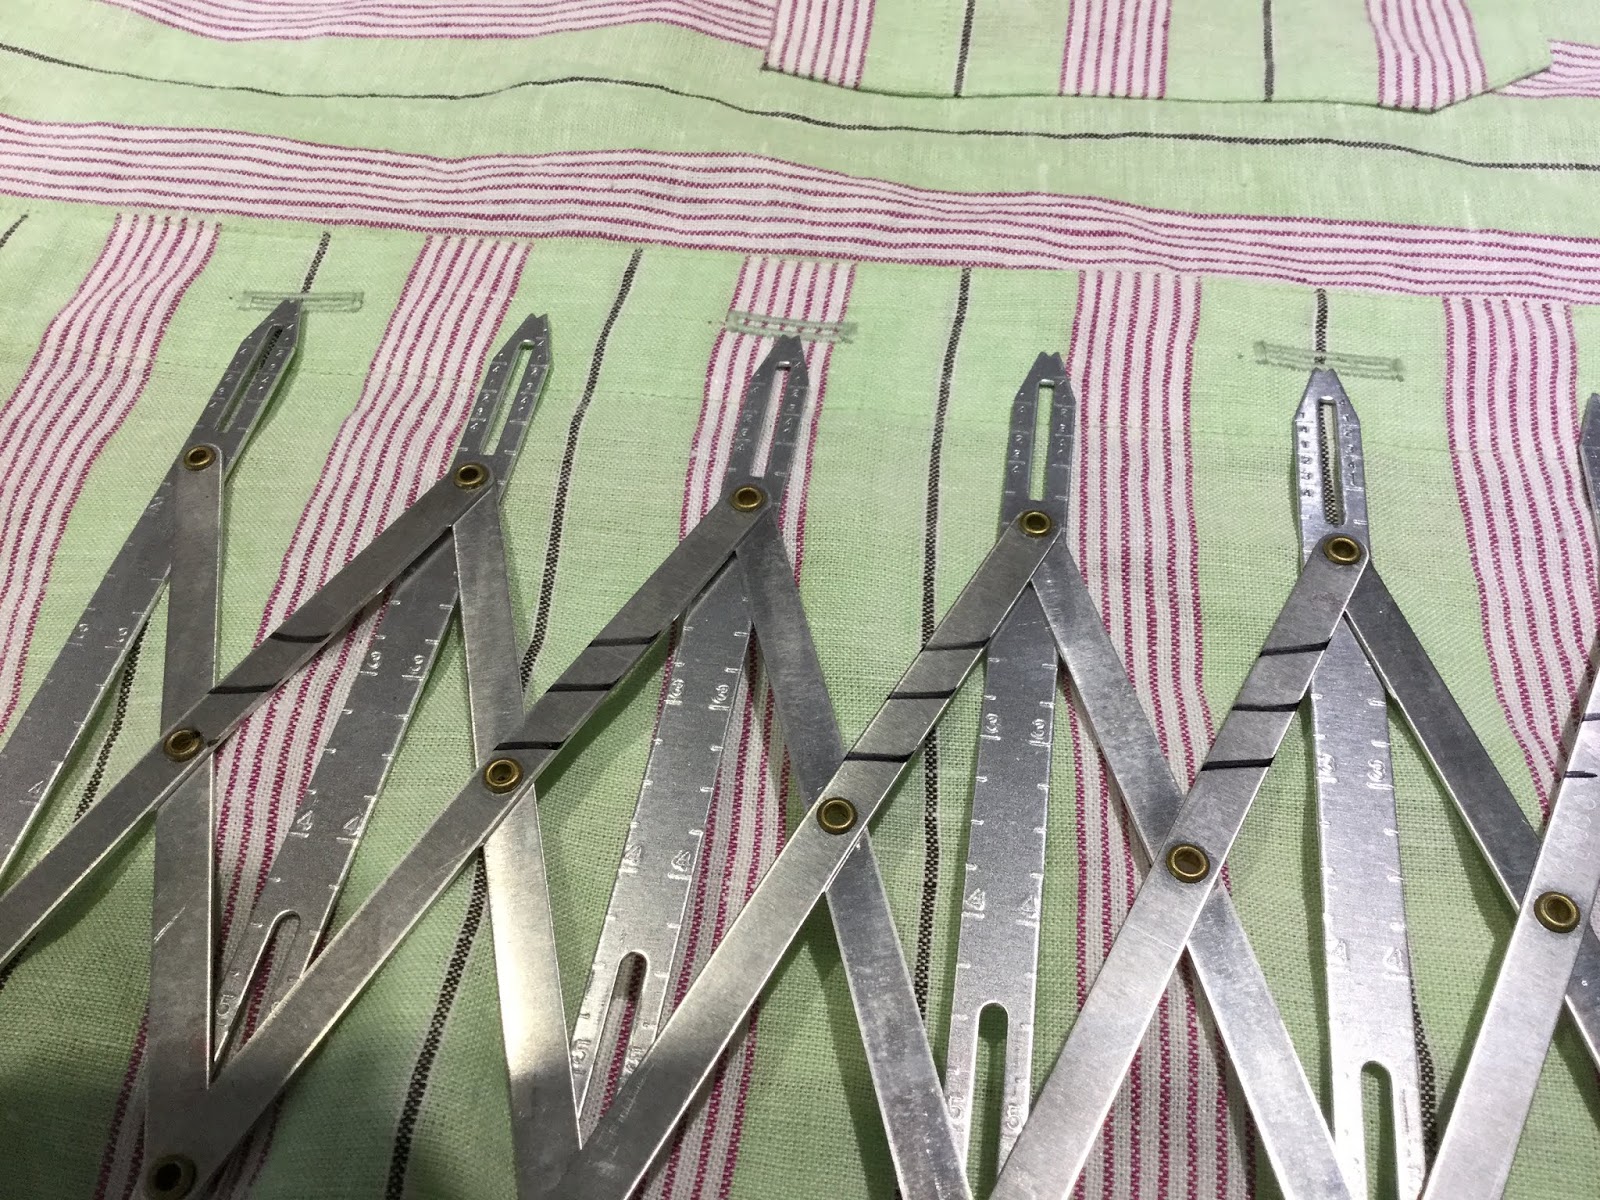
Obviously, I forgot to take a photo until I had already marked and stitched the buttonholes. Then I realized that everyone needs to know about this time and frustration saver. Of course, we have these on the website.
Then it was time to mark for the button placements. I aligned the front plackets, with center fronts matching. I stabbed a pin through each buttonhole about 1/8" from the top of the buttonhole. That placement means that when the garment is buttoned, the buttonholes will rest right on the button shank and stay there all day.

I hope you find these tips useful. So much of what we do at Cutting Line Designs is about accuracy, and I love the results I get from that emphasis.