Greetings again, everyone,
Let's move on to stitching the sleeves in the View B shirt from At Every Angle. By the way, much of what I'm talking about can apply to other patterns in our Cutting Line Designs line of patterns. So carry this info with you as you work on other shirts.
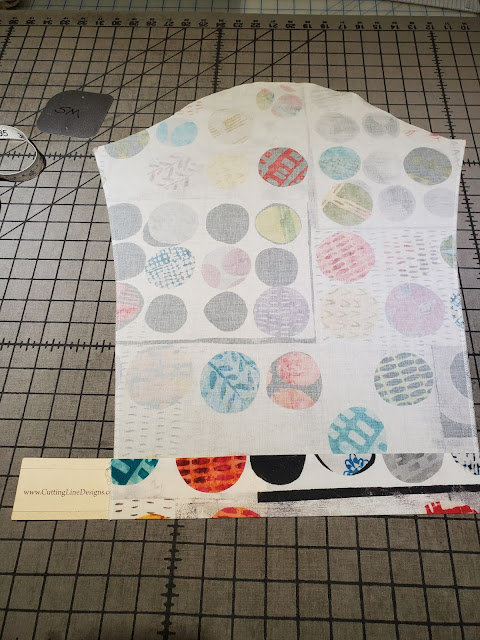
The pattern instructions tell you to serge both vertical edges of the sleeves. It's best to serge from the underarm corner to the hem. If you go in the other direction, you are working against the grain and you'll stretch the edge of the sleeve.
Then you can press the hem edges. In this case, there are 2 folds so you end up with a clean finish. First, a 3/8" fold, using one of our Pressing Templates. (My bad; imagine this turned 90 degrees!)
Then use the same Template to press a 2" hem (all the Templates are 2" wide). I like to press the hems while the sleeves are flat, even if I have to touch up a bit later.
Now you're ready to pin the sleeve into the garment. As I've explained before, you are working with a concave edge (the garment) and a convex edge (the sleeve). So the cut edge of the sleeve is longer than the cut edge of the garment. However, the stitching line is the same length on the garment and the sleeve. That's why you will find it easiest to pin in a certain way. Let's look:
Note that the pins catch only a few threads right at the stitching line. That's where the sleeve and the garment are the same. The different edges can do what they need to. (See the May 20 blog for more.) By the way, sharp pins with glass heads really help.
It may also help to see how the corners look when matched correctly. They should cross right at the stitching line--not at the corners.
Time to stitch. In this pattern, you begin stitching 2" in from one underarm corner and end 2" from the other underarm corner. Like this:
Next, stitch your underarm seam of the sleeve. Unfold the pressed hems. Stitch from the raw sleeve hem up to the dots at the underarm corners. Also stitch the side seam of the garment from the matched dots at the underarm corners to the matched dots at the top of the side vents.
Tomorrow, I'll explain how you'll stitch that open spot at the underarm.
In the meantime, I hope you're following along and finding info you can use in other projects.


